
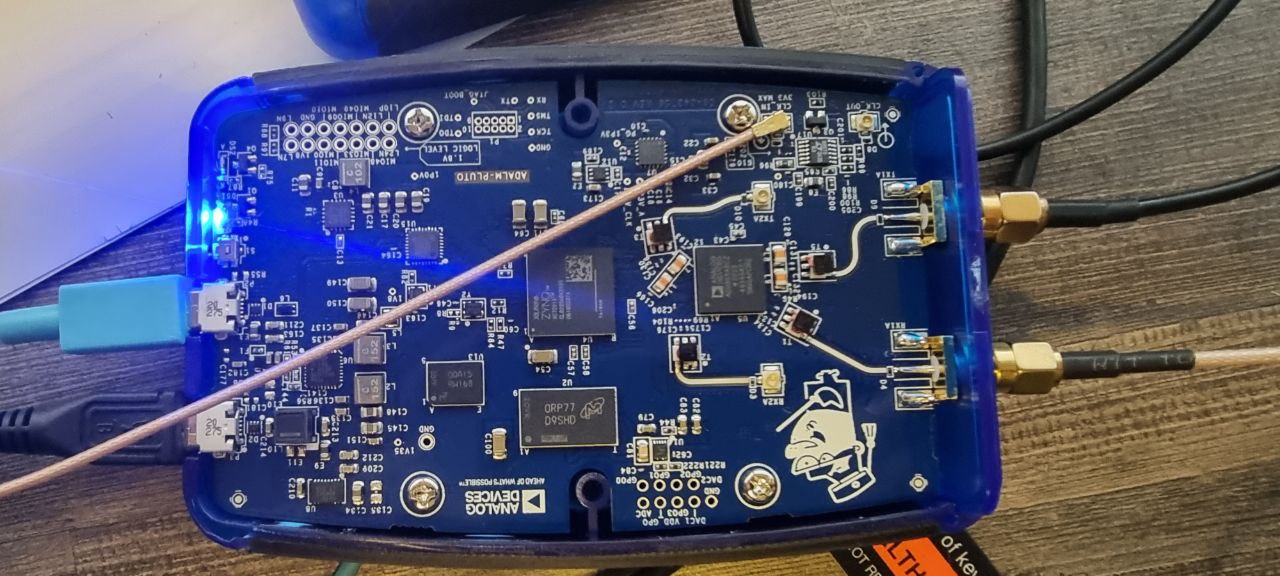
I recently got a new Adalm Pluto (PlutoSDR) which I wanted to setup for DATV transmissions on the Oscar 100 Satellite. Its the new revision C/D (It says revision C on the Box, but shows revision D on the circuit board). Its been a while since I’ve setup my previous one which was an older version so I decided to document the process for myself for future use. A nice addition of the new revision is that it has a CLK_IN connector for an external clock so I’m setting it up with a Leo Bodnar Precision GPS Reference Clock.
F5OEO Firmware and Patch
The PlutoSDR requires a custom firmware with DATV features which has been developed by Evariste – F5OEO. The most current firmware is the Perseverance firmware which is available on the F5UII’s site. You want to download the PlutoDVB perseverance firmware 0303 file and the patch for the PlutoSDR Rev D hardware.
First install the firmware by copying the pluto.frm file to the PlutoSDR mass storage device:

And then Eject the mass storage device:

The PlutoSDR will now flash the firmware, this can take a while. Do not unplug the PlutoSDR while its flashing as it can brick your device. The LED will flicker during its flashing process.
After it has booted up again you should now be able to access the web interface from your browser. The default IP should be 192.168.2.1

Next step is to upload the patch. Once you have clicked on “Let’s go to PlutoDVB (on USB Connection)” you can navigate the menu towards System and then Maintenance. On this page you can upload the patch file (patch.zip). Once you have uploaded the patch file it should look something like this:

Your next step is to go through the configuration and configure per your setup. Remember your callsign and to press the apply settings buttons.

You can now go back to the Maintenance page and reboot the PlutoSDR.
Extend Frequency Range
You can extend the frequency range on your PlutoSDR from 325 – 3800 MHz up to 70 MHz to 6000 MHz. To do this you need to SSH into your PlutoSDR. Putty is a simple client to use for doing that if you are on windows.

The login details are root for username and the password is analog. Once you are on the terminal you can use the following commands to extend the frequency range and to enable the 2nd CPU (Not sure if this actually makes any difference).
fw_setenv attr_name compatible
fw_setenv attr_val ad9364
fw_setenv maxcpus
pluto_reboot reset

Testing
Everything should now be ready for use. The testing and usage will differ from person to person based on their setup. For my DATV transmissions I use OBS + Virtualcam with the FreeStreamCoder from F1EJP. On the receiving end I’m using a Minitiouner V2 from BATC with my own Longmynd Client.
I added a small antenna to PlutoSDR and placed it next to my Minitiouner and started transmissions.

And this is what I received on the Minitiouner side:

At this point all is good to go. The next step is optional if you want to add more precise clock reference to your PlutoSDR
Leo Bodnar Precision Frequency Reference
While the crystal on the PlutoSDR works for most uses, its not perfect and you can get deviation/drift. To improve this we reference a precision clock and feed it into the PlutoSDR. In my case I will using a precision gps reference clock from Leo Bodnar.

On older PlutoSDR revisions you had to do physical modifications to feed in an external clock. On the newest revision they have added a UFL connector on which we can connect our external clock.

I have used the software from Leo Bodnar to configure one of the outputs on my GPS reference clock as a 40Mhz output. The settings to take note here is the Output drive strength which is 8mA and output 1 is set to 40000000 Hz:

The output is connected to the PlutoSDR, but we still need to tell it to actually use the external clock reference. To do that you need to SSH into the PlutoSDR again and set the following settings:
fw_setenv refclk_source external
fw_setenv ad936x_ext_refclk_override 40000000

After a reboot and once your GPS has locked, you should be able to transmit without any issues. I tested that the external clock is being used by transmitting and then disabling the output on the Leo Bodnar GPS clock. You will see that it then stops transmitting, until you enable the output again.
That should be all the steps required to get your PlutoSDR revision C/D loaded and ready for DATV.
See you on the satellite!
Hi Tom,
interesting. Am referring to the extension of the frequency range: did you test wether the extension is working and you get an rf output on , say 146 Mhz?
I also have a new Pluto rev. C/D controled from a portsdown 4, frequency extended with the same inputs that you used but gives no output.
I followed that up and found a thread from G8GTZ saying that for rev.D an additional command is required: fw_setenv compatible ad9364. Did not yet input that because i am not sure if it can be simply added.
73, dc1op, Hubertus
Hi Tom,
further to my input from yesterday and due to some impatience I just shoot the additional code mentioned in the Pluto:
fw_setenv compatible ad9364
pluto_reboot reset
Worked, frequency range on Pluto rev C/D is now expanded down to 70 MHz which covers the lowest uk ATV band. Did not check the extension in the upper range as I assumed that it works too when the extension to the lower bands is ok.
73, Hubertus
I very much appreciate your attention to revision C/D, but I have a question: Which Analog Designs firmware version should I start with, or doesn’t it matter? Currently, the latest is v0.35.
Great Instruction and great new firmware !!!
PTT relais: switches only with drive > 0. Absolutely ok !!
I installed firmwares and patched many times because “relay didn’t work” with drive = 0.
Decoding ASTRA somehow ??
Perhaps even seeing a DVB ?
Would be helpfull for dish setting: when ASTRA was found, its easier to find Eshail.
Thank you very much !!